Information You need Before Install or Purchase Our software
|
| Things you should know before install or buy our software : |
1- Install Database engine: SQL Server 2008 SP2 R2 |
| |
Step 1 : |
|
Download SQL Server file using this linke
SQL Server 2008 Express
|
|
Step 2:
|
|
|
Run downloaded file , wait untill progressbar complete extracting nessary files.
 |
|
|
Step 3 :
|
|
|
Select installation : then select (New Installation or add features to an existing installation )
 |
|
|
Step 4 :
|
|
|
Press (I Accept the license terms) then Next
 |
|
|
step 5 :
|
|
|
Press (Select all ) then press ( Next)
 |
|
|
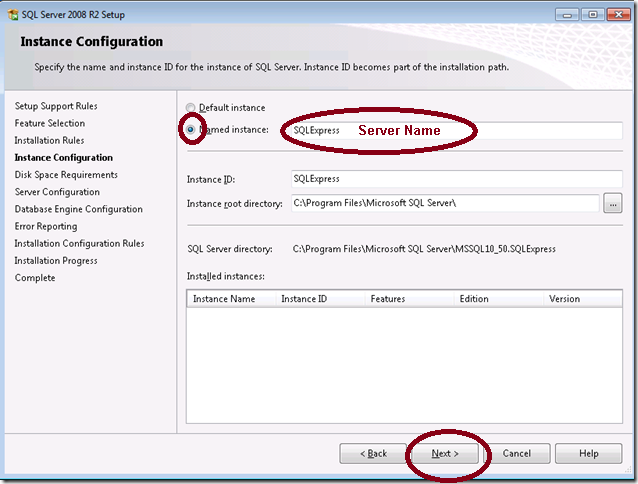
Step 6 :
|
|
|
Select Named Instance : SQLExpress will be
Your server name will be : (Local)\SQLExpress
or
yorPCNAme\SQLExpress
Press Next
 |
|
|
Step 7 :
|
|
|
Press Collation tab :
After select Collation press Customize

This window apear Windows collation then select (arabic) and press ( OK )
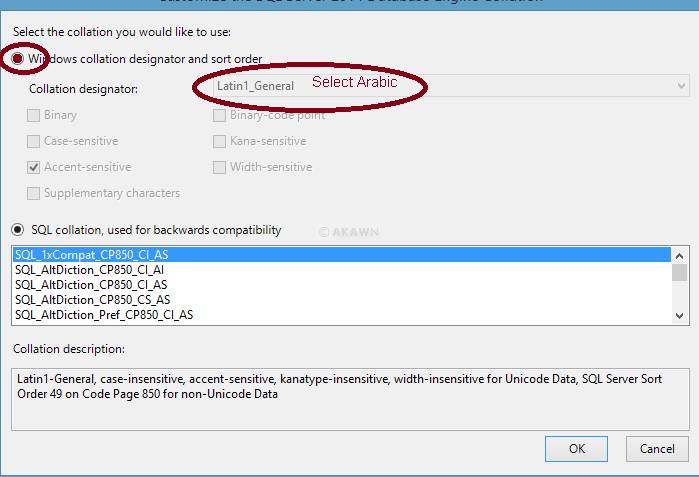
Press Ok then press OK |
|
|
Step 8 :
|
|
|
This Sceen is very important : you must select mixed mode to enable server connection to db engine
Select ( Mixed Mode ) write you (sa) use password and rewrite it again
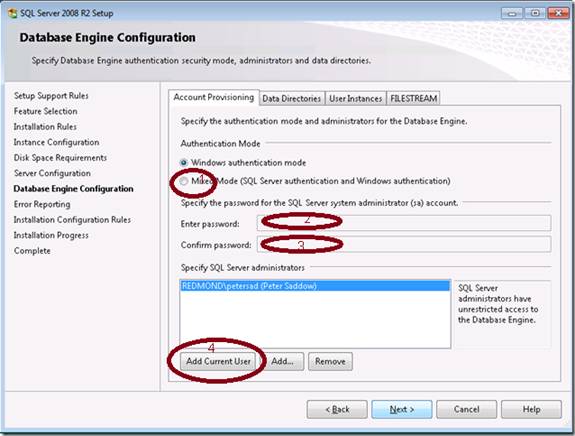
Press button : Add Current User
Important Note : When connect to database using our server :
Server user name : sa
Server password : your password
|
|
|
Step 9 :
|
|
|
Press neext to start installation :
|
|
|
Step 10 :
|
|
|
اInstallation completed successfully press Close
 |
|
2 - Install Our Software : |
|
Step 1 :
|
|
|
You are now ready to downlaod our software and install it usning our website
Arabic
Or
English
|
|
|
Step 2 :
|
|
|
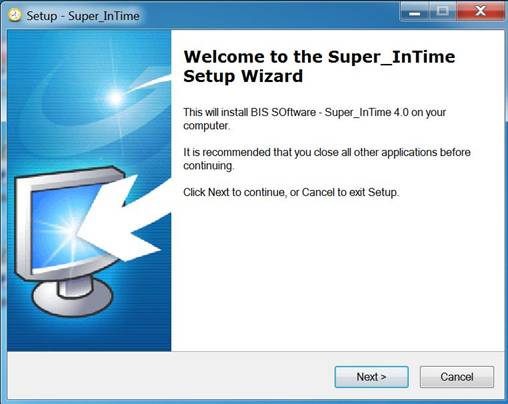
After download program run it this screen will be appear select next:
 |
|
|
Step 3 :
|
|
|
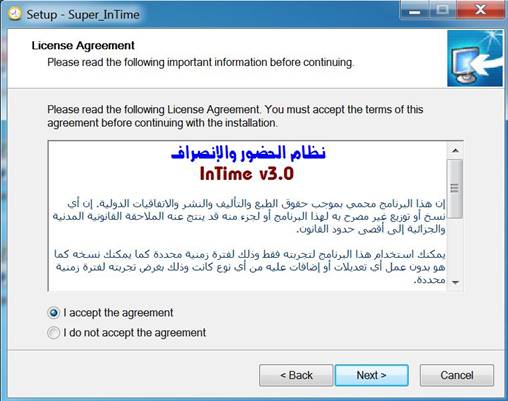
Copy right sceen apear select (I accept) then press Next :
|
|
|
Step 4 :
|
|
|
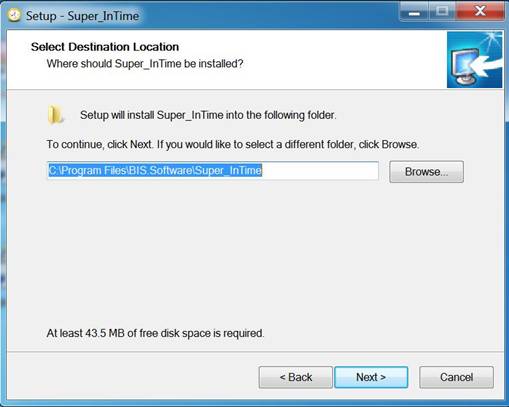
Change folder installation path or leave the default path press Next
 |
|
|
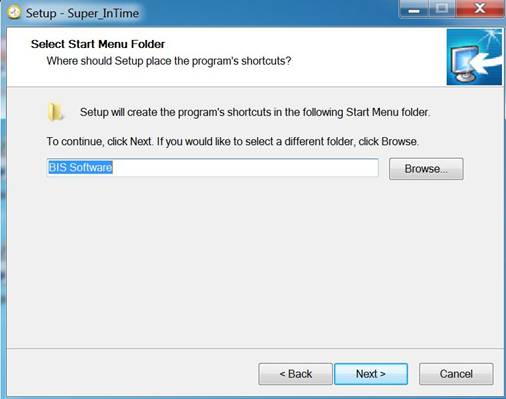
Step 5 :
|
|
|
Press Next :
 |
|
|
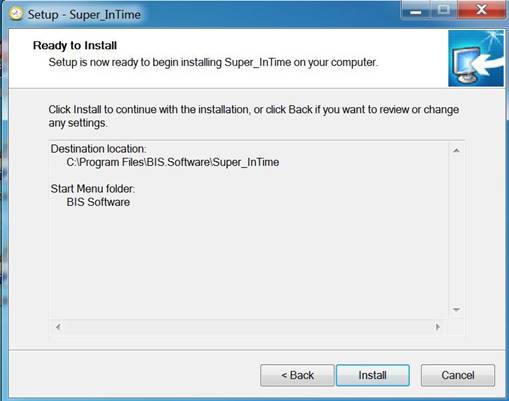
Step 6 :
|
|
|
Press Install :
 |
|
|
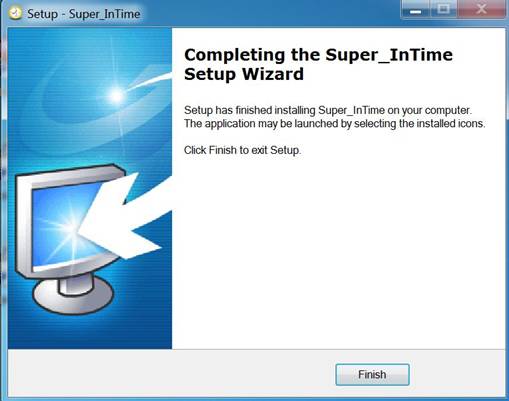
Step 7 :
|
|
|
Press finish to to end installation process :
 |
|
|
Step 8 :
|
|
|
Open your desktop you will find two new icons one for the server and other for the client :
Example

Right click server icon and press Properties :
select Compatibility mode :
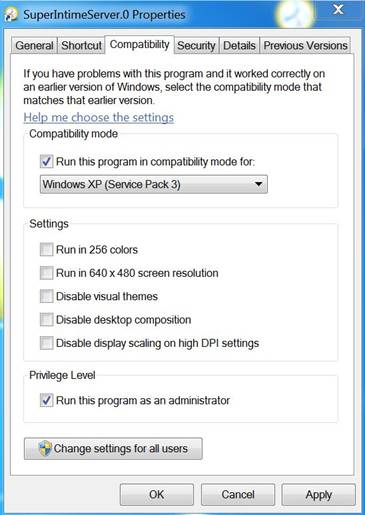
Select Run this program in compatibility mode for - windows xp service pack 3 and select Run this program as administartor
Do the same process for Client icon

|
|
|
Step 9 :
|
|
|
double click on server icon :
If you install firewall this message
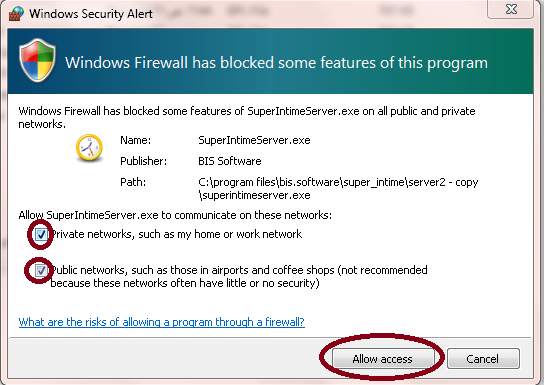
- Select ( Private networks )
- Select ( Public networks )
- Press Allow access
This screen will appear
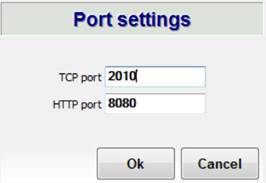
Press Ok
You should remember Tcp Port number and http port number beacause you will use theme in client application to connect server
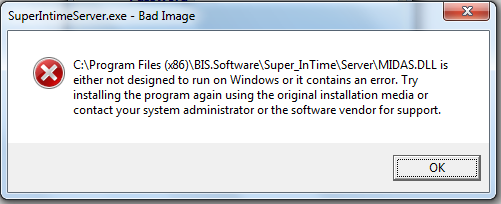
If you install many bis servers you must select differnt ports number to avoid conflict, and avoid seeing this error
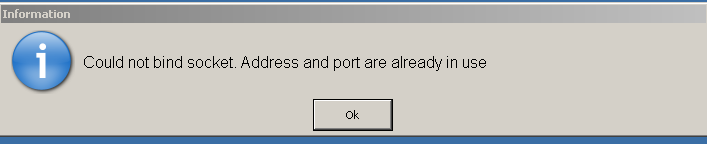
Also this error
 |
|
|
Step 10 :
|
|
|
New database screen appear :This used to create new SQL server db and set the configuration ofdb connection.
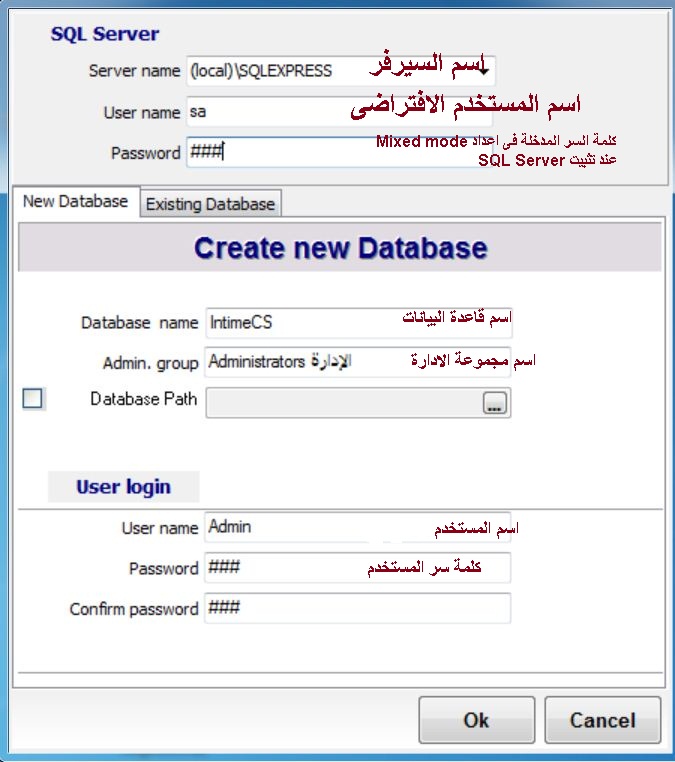
Server Name : Your SQL Server name it should be (Local)\SQLExpress
او
yorPCNAme\SQLExpress
User Name : Default user name is (sa)
Password : Passowrd of SQL Server main user
Database Name : your database name
Database path : check this option only if you know how to pass permission of sql server user to this folder .
USer name : Main user name
Passord : Main user password
confirm password :repeat main user password
Press Ok and Wait until this message appear
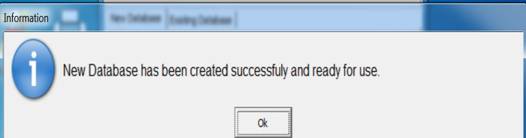
This means your db creation is successfully done.
|
|
|
Step 11 :
|
|
|
Start client application :
Don't forget setting its icon as administrator ( see step 8 )
Start run your client
|
|
|
Step 12 :
|
|
|
Application registration appear
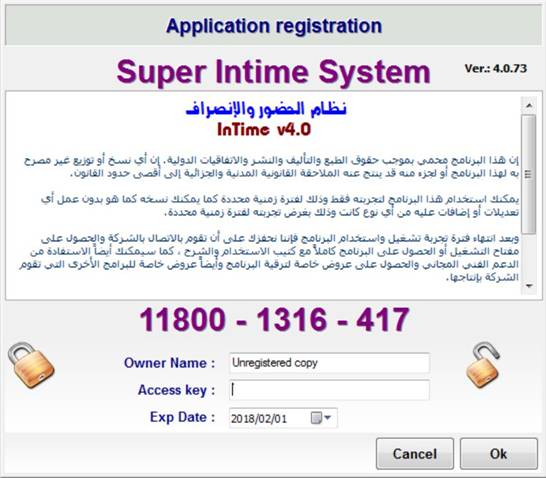
Owner Name : your name or your company name
Access Key : You should call online support to give you a registration key or purchase lisence online using sadad service at our site.
Exp Date : Expire date of your lisence
Press Ok |
|
|
Step 13 :
|
|
|
This message appear at first time :
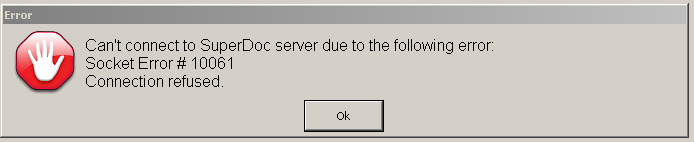
Means that client need correct configuration to connect your server or your server is closed.
You must run server before you run client.
Press OK |
|
|
Step 14 :
|
|
|
Serever connection configuration :
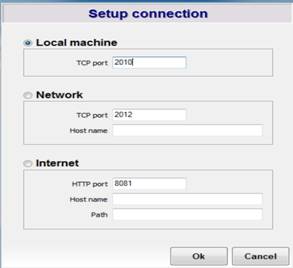
1 - Local machine :used
if server and client at the same machine .Write your server tcp port (see setp 10 )
2 - Network :
used if server in the same local network and not on your machine
Tcp Port : server TCP port (see setp 10 )
Host Name : write server local ip or server machine name |
|
|
Step 15 :
|
|
|
If connection to your serever succeed User Log in sceen appear :
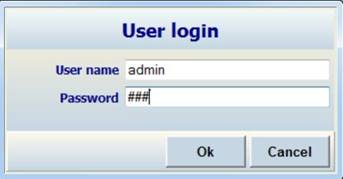
User Name : Main user name of db (see step 10 )
Password :Main user password ( see step 10 )
Press OK
If this error appear after press ok :
- Close your client application
- Downlaod this file
كل ملفات برامج BIS
and install it.
- Run you client application
|
|
3 - Conflicts between many server :
|
|
If you install many programs :
1 - User different Tcp port and HTTP port for each server
2 - When you make client configuration you must run one server belong to this server. After client connnection configuration you can run other server . |
|
|
|
|
|
|
Step 1 :
|
|
|
Open our site (BIS-Soft.com
)
Press icon online Support |
|
|
Step 2:
|
|
|
This page appear :
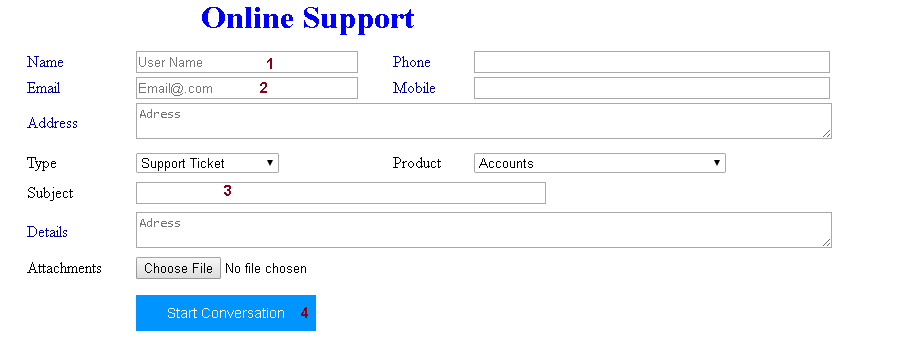
1 - Write your name
2 - Write your email
3 - Subject
All other data are optional , Press start conversation. |
|
|
Step 3 :
|
|
|
Online Support page :
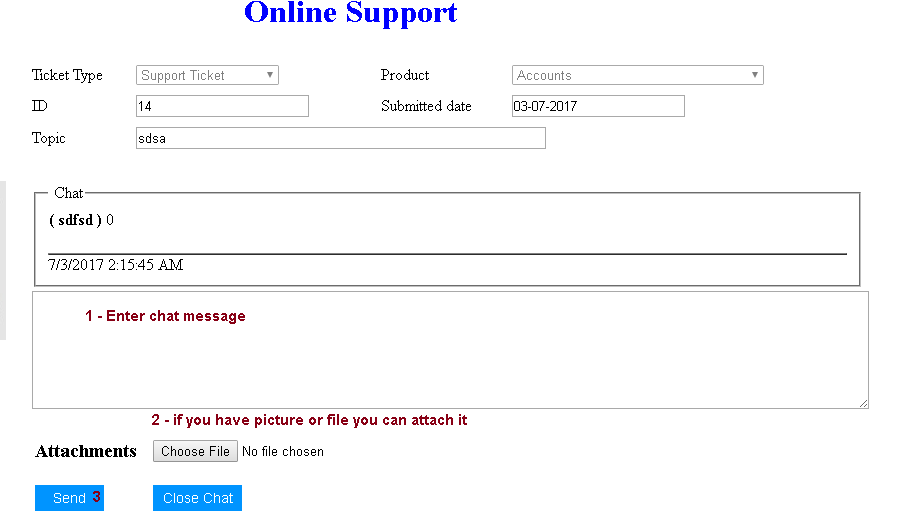
Write your message, add attachment if you want.
Press send , Support will answer your question and help you
If you want to end chat , press close chat button |
|
5- BIS Remote Support After Installation : |
|
Step 1 :
|
|
|
If need remote support , download this program
Remote Support Windows 7
Remote Support windows 8 & 10
|
|
|
Step 2 :
|
|
|
Run downlaoded software , call support to accept your remote connection request.
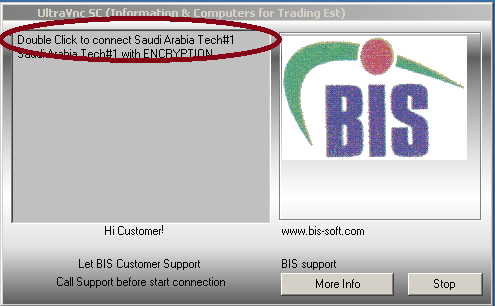
Double click on first choise |
|
|
Step 3 :
|
|
|
Program dissapear and its icon appear in taskbar system icons.
Icon appear on task bar as yellow icon.
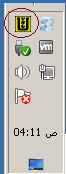
Yellow icon means waiting server connection request reponse
If Connected to server icon became green .
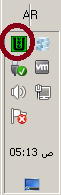
If you want to close connection Right click on software icon menu appear , select close.
If you press close connection with server will ended .
Remote support program not autorun software.
Remote support program make connection with server only if you double click on the first selection(see prevoius step) this means that you request remote connection |
|
6- Purchase steps of sotware lisence : |
|
Step 1 :
|
|
|
Open our site (BIS-Soft.com
)

Press (Purchase Program) |
|
|
Step 2 :
|
|
|
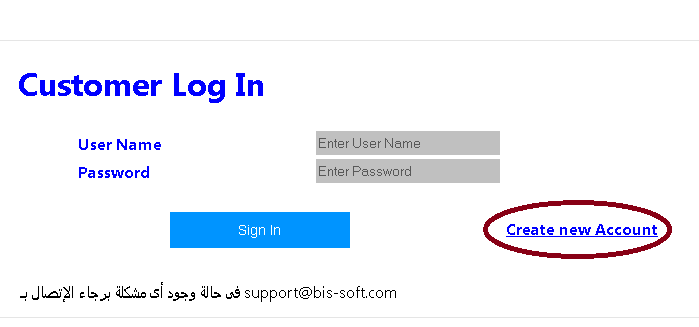
User login page : press (Create New Account)
 |
|
|
Step 3 :
|
|
|
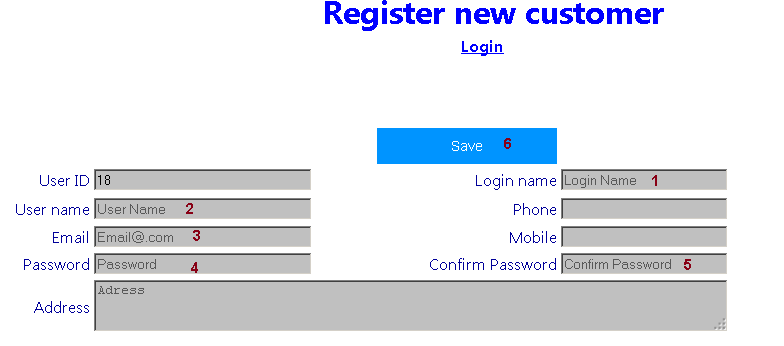
Fill user data :
1 - Your login name
2 - your name
3 - your email
4 - password of user name
5 - renter password
6 - Press (Save)
After save : this message appear

Approval message will be sent to you within 24 hours |
|
|
Step 4 :
|
|
|
Open login URL (Purchase Program
)
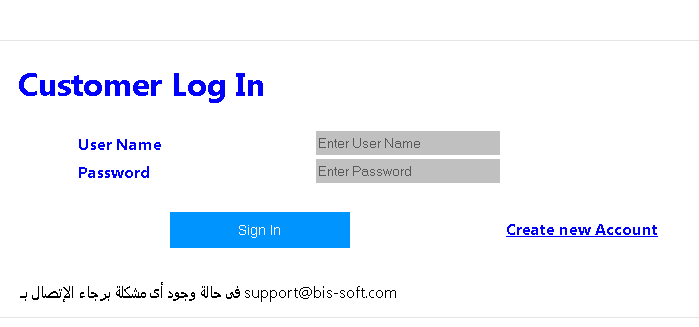
Write your user name and password
Press (Sign in ) |
|
|
Step 5 :
|
|
|
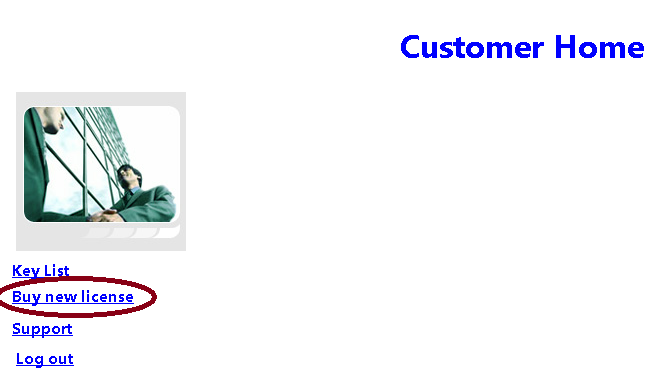
Press (Buy new license)
 |
|
|
Step 6 :
|
|
|
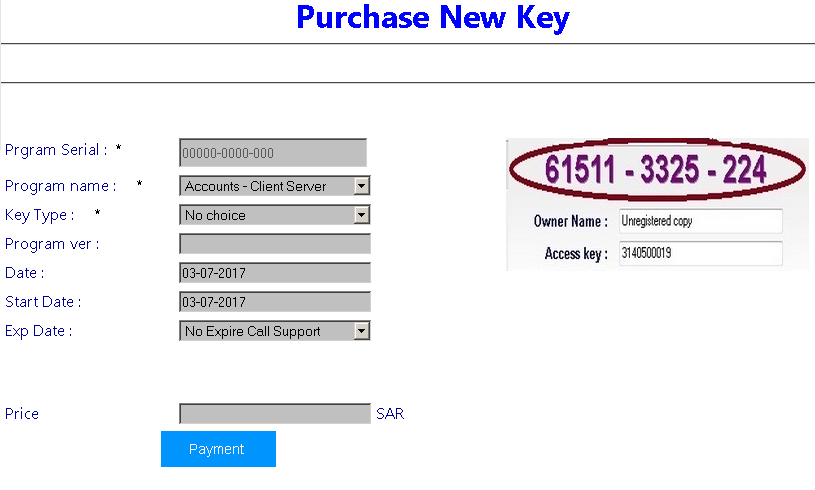
Program serial : enter your program serial
Program name : select program name
Key type : New - new copy
Replace : replacement of existing lisence
Exp Date : 6 month or one year
Price : Price of lisence
Press (Payment )
Confirmation message :
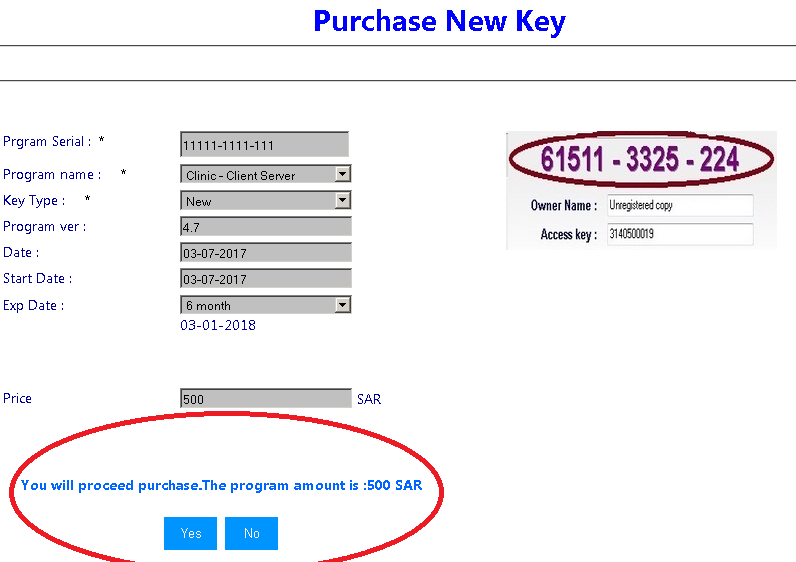
If you press (Yes ) to complete purchase process
If you want to cancel process (No ) |
|
|
Step 7 :
|
|
|

1 - Enter your OLP Alias ID
2 - Submit : Start purchase process
3 - Cancel : cancel process |
|
|
Step 8 :
|
|
|
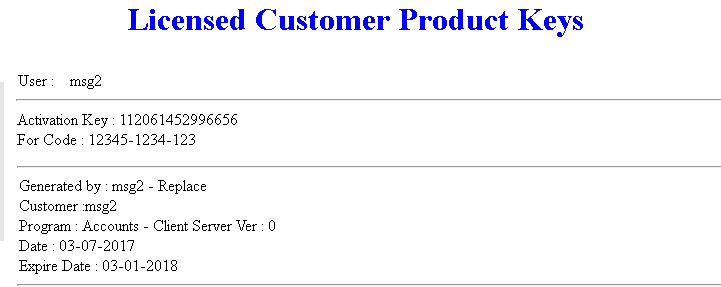
After purchase process completed : your activation key will apear
 |
|
|
Step 9 :
|
|
|
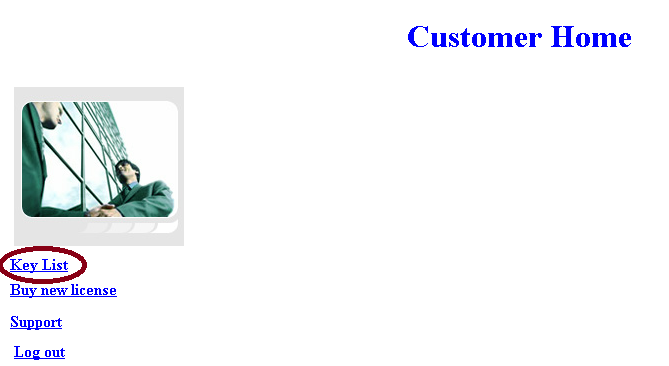
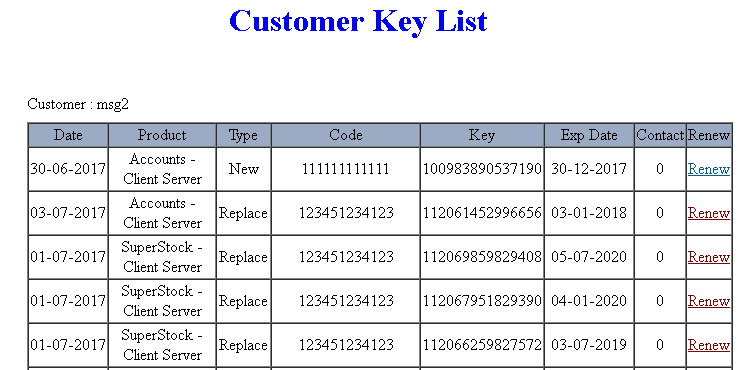
You can see your lisence list :
Open home link : select (Key List )
|
|